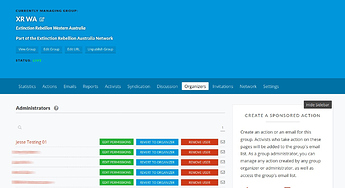
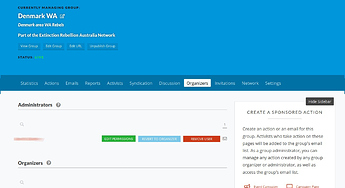
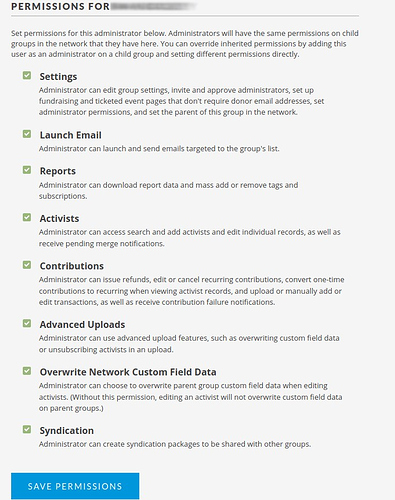
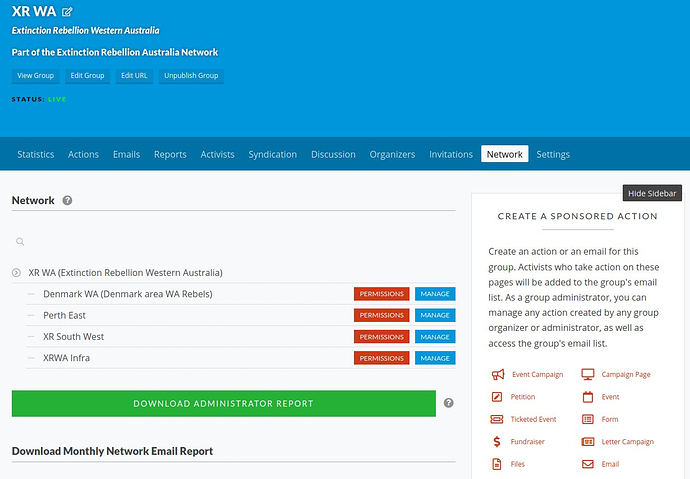
In Extinction Rebellion Australia we’re using Action Network (AN) to maintain our activists database. We’ve structured AN into a hierarchy of groups starting with a national group followed by state/territory groups and then local branch groups. This allows organisers the autonomy of managing their local group while also synchronising their activist records with state and national organisers.
This document outlines how to setup a new local group within Action Network.
You will need
- Name of the local group
- Admin access to the parent group
- Postcode range for local group
Deciding on parent group
Generally speaking the parent group will be the state group in which the local group resides. However there may be circumstances where it makes sense to setup an intermediary group. Work with local organisers to figure out what structure works best for their needs.
The Process
- Create the local group and link it to the parent group
- Set up ladder to subscribe the matching activists to the local group
- Importing existing activist to the local group
Creating the Group
You can create a new group by clicking ACTIONS near START ORGANISING at the top of the page and then selecting the + icon near the ‘Groups’ icon. Fill in the required fields here.
Note that the current convention for group names is to prefix them with ‘XR’. If the group name is particularly long you may wish to set a shorter administrative title.
After publishing group, go into the group settings and enable Add data processing text at the bottom of all subscription forms. Populate the data processing text with the following:
By completing this form you agree to our privacy policy.
While you are here it’s also recommend that you turn on the following settings:
- Automatically merge activists who change their email address
- Use affirmative opt-in forms on actions where your group is the primary sponsor
And populate the email/social media fields with the appropriate values.
It’s a good idea to create a new default email wrapper for the group. This will greatly reduce the Action Network footer at the bottom of their emails. Go to Details then Email Wrappers & Layouts, then click Add New Wrapper. Call the wrapper ‘Default wrapper’, leave everything else as is. Click Save. When you’re back at the Email Wrappers & Layouts screen, click the house icon next to the new wrapper to make it the default.
It’s also helpful to create a report called ‘All activists’ which targets the entire group, and then go to the Activists tab and set the activist report to ‘All activists’. This allows group admins to look up individual activists in the Activists tab.
For Victorian groups, also create a sign-up form for the group as described here, and notify xrmelbintegration@protonmail.com so they can update their master list of local groups.
Setting up Branch Query
We’re now going to setup a query in the parent group to filter activists based on the postcode range. You can create a new query by selecting the + icon near ‘Queries’ in the ‘Actions’ dropdown in the ‘Start Organising’ menu.
The query should be called the local group name prefixed with 'Postcode '.
From here you will need to create rules to match the various post code ranges. You can do this using a filter of Field Value that includes the Zip Code matching a regular expression that describes a particular range. For this task you’ll only need to make use of:
- % – Wildcard symbol
- [0-9] – Range values
In the example above we have three rules. Since we’ve using the OR operator only one of these rules has be to true for the activists to be included in our results.
- Rule 1 – Includes postcodes 4815, 4816, 4817, 4818, 4819
- Rule 2 – Includes postcode 4823
- Rule 3 – Includes postcodes 4830, 4831 … 4899
Setting up Report based on query
The next step is to generate a report based on your query. This can be used to assist you in verifying the rules you created.
In the parent group create a new report with the local group name and a suffix of ‘- Postcode Check’. Select the query you just saved in the Queries field under the Includes column. At the bottom of the page check all of the Subscription Statuses except for ‘Unsubscribe’.
When selecting fields for the report only select the ones you need so in this case Email and Postcode. Download the report and look through the data to verify that your rules are working correctly. It’s quite possible that there are no activists from some postcodes. We’ll cover how to manually check these later.
Sorting ladder
We’re using ladders to automatically subscribe activists to local groups. If the sorting ladder for the parent group doesn’t exist then you’ll need to create it. If it does then you will need duplicate it and make the appropriate changes.
The recommend name for sorting ladders is:
Add Subscriber to local group (based on Postcode) V1
In the notes for the sorting ladder please describe the postcode ranges for each subgroup. This will assist other organisers in detecting whether there are errors in the rules.
The sorting ladder should start with a subscribe trigger. Following the trigger will be a series of chained decisions that determine if the activist is within the postcode range for a particular group. If the decision evaluates to
- True - then an action should be created to subscribe them to the appropriate subgroup. Some states (Victoria, Queensland at present) also store the rebel’s subgroup name in a custom field called “Local Group” (described here). From here they will exit the ladder.
- False - then there should be a decision to check the postcode range for the next subgroup unless there are no further subgroups in which they exit the ladder unassigned.
Decisions should be named as the subgroup with the suffix ’ Postcode?’. When creating the decision for the new local group you will need to duplicate the rules from the query. This means that if the post range changes in future you will need to update both the query and the ladder.
When you have made the changes to the ladder you can test them on our own account. Note you will need to manually edit your postcode in the activist section before running each test and unsubscribe yourself from the group afterwards.
Once the updates to the ladder have been made then save and activate the new ladder. If the ladder is a duplicate then you will need to close the previous ladder.
Importing Users
The sorting ladder will only handle cases of newly subscribed activists. To handle everyone who has previously subscribed you will need import them into the local group.
Return back to the reports section and edit the report you created earlier. You won’t need to make any changes here but by editing the report and stepping back through the settings you will force AN to pull in the latest data.
Once you’ve generated the new report, click ‘Subscribe all activists to email lists’ (the link is on the right-hand side below the ‘Create report CSV’ box), choose the new group then click Subscribe.
Once this is complete return to the local group dashboard. You should now see stats indicating that everyone has been successful imported.
Send an introductory email to the new group
Once the import is complete, help the group co-ordinators to send an email to the group explaining about the new group and welcoming them to it. Some suggested things to include:
- Explain that the group is newly created and that they’ve been subscribed because they are in the geographical area (based on postcode)
- That people can unsubscribe from emails from the group using the unsubscribe link at the bottom of any email. They can unsubscribe from this local group without affecting their subscription to other XR local or state groups.
- When are the group’s meetings, contact details, any upcoming events or actions, etc
Here is a sample email template you could use.
Tidy Up
Now everything is setup. So please remove all the downloaded reports from your machine.


